I Added OCR and Translation to My Manga Reader

I never set out to build OCR.
The wnacg reader had always shown a Japanese category. I could browse covers, open a book, and turn pages, but the dialogue immediately became background texture. An entrance that is visibly there and repeatedly unusable is somehow more irritating than no entrance at all.
I only wanted a “translate subtitles” toggle. My bad estimate was simple: OCR the words, ask DeepSeek to translate them, and paint Chinese over the top. Half a day, perhaps.
Translation turned out to be the easiest part.
Vertical Japanese blocked the shortcut
I started with macOS Vision OCR. Horizontal Chinese was fast and accurate. The first red boxes appeared and I thought half the job was already done.
Then I opened an original Japanese page. Almost everything was vertical.
I tried rotation, enlargement, and different language priorities. The result was simple: excellent Chinese recognition, but this was Japanese. Apple's Live Text can read vertical text, but the public Vision route is not the same path.
The working solution uses two manga-specific stages. comic-text-detector first finds text regions on the full page; manga-ocr-2025 then reads the Japanese inside each region. They are not alternatives. One finds the words, the other reads them, and they have to run in that order.
DeepSeek translates the recognised text, and Canvas covers the original and typesets Chinese back into the bubble. The two local models and vocabulary take roughly 230MB to download on first use. After that, detection and recognition stay on the machine; only the Japanese text is sent out.
The first real page produced vertical dialogue and the small tonal particles too. That felt good. It still only proved that the pipeline was connected. A readable page was farther away.
It translated, and still looked cheap
When the pipeline first worked, I still did not want to read the result. Ellipses scattered into dots in vertical text, the font looked like a system error, every block leaned slightly left, and the white covers had hard rectangular edges.
It looked cheap.
A model error at least leaves a log. “Cheap” has no stack trace, so I changed it one visual detail at a time: full-width punctuation for vertical text, right-to-left layout in tall bubbles, centring based on measured pixels, and a cover sampled from the bubble background instead of a dead-white rectangle.
There was no spectacular algorithm, only a lot of “one pixel farther right.”
Here is the same real page before and after:
Original: the region is found, but the bubble still contains vertical Japanese.

Translated: the same region is covered, then Chinese is typeset vertically in its place.
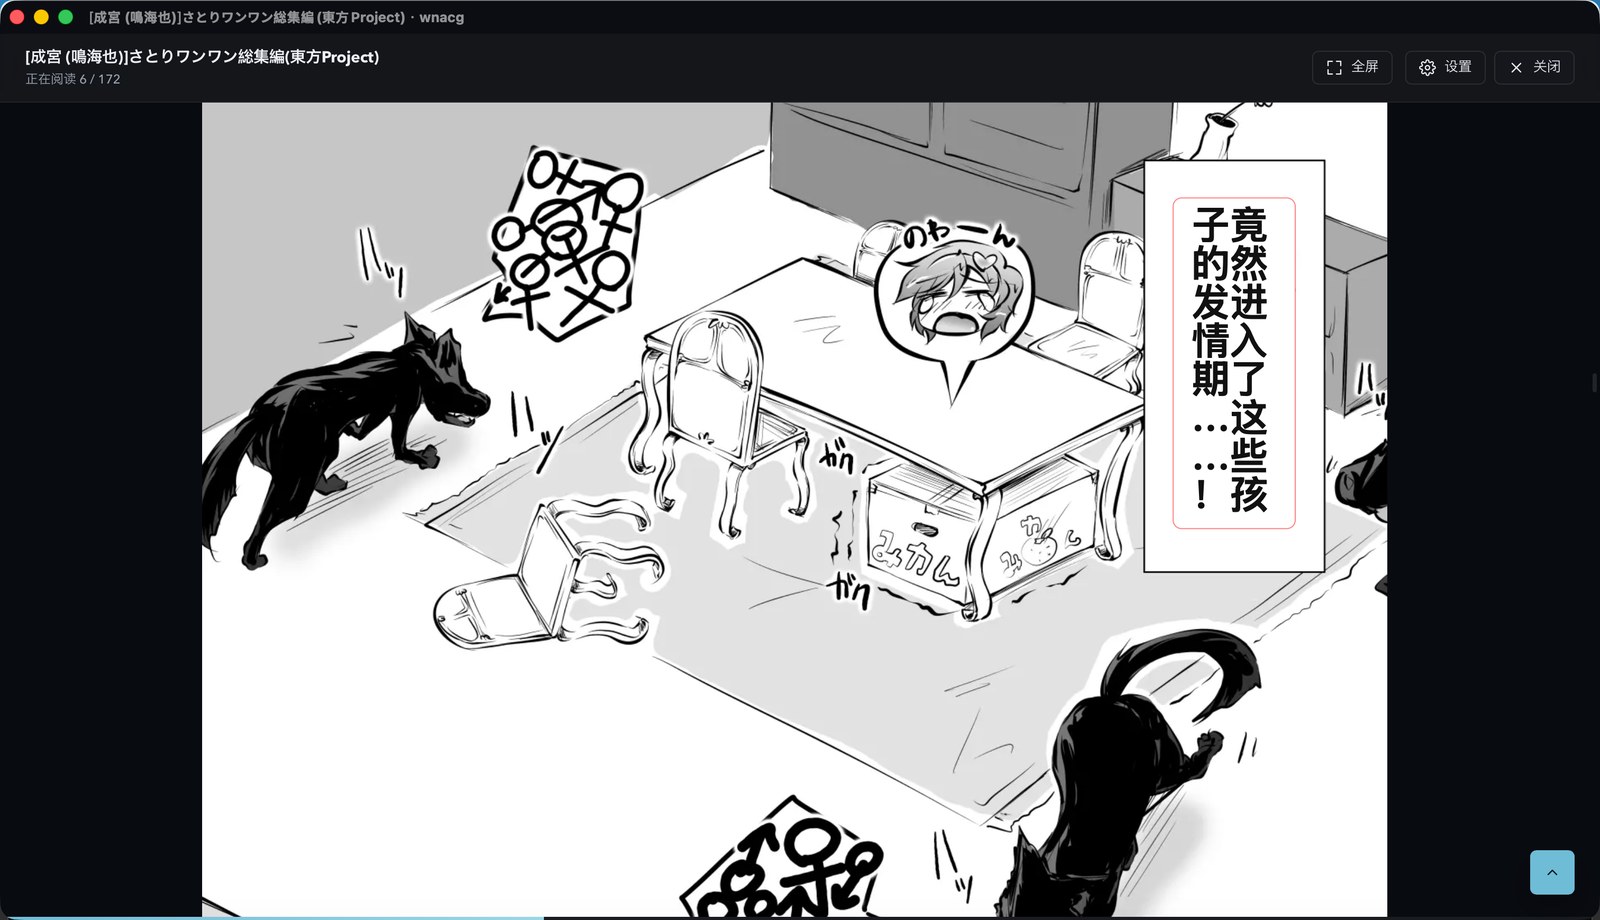
The result is not perfect, and I do not call it “one-click AI localisation.” Hovering over Chinese reveals the source precisely because a sentence that looks too fluent can deserve another look.
One bug was even more direct: turn translation off, turn it on again, and nothing happens.
The Chinese was already cached and the toggle state was correct. The missing step was the last one — repaint the cached translation onto the page. Every layer believed the work was complete while the screen still showed Japanese. It was not an advanced bug, just a very software-shaped one: each part was correct and the product was useless.
I added the missing repaint and made slow or failed work visible. Nearby pages are prepared ahead of time; a failure retries only the current page. Debug boxes stay out of normal reading, while hovering over a translation reveals the source.
I only wanted to read one raw page. The “model loaded” line in the terminal did not do much for me. Turning the page and finding Chinese already there did.
It still makes mistakes, still needs a network connection and a DeepSeek key, and downloads roughly 230MB of models on first use. But the Japanese category I used to avoid has become an entrance I actually click.